
Shipping plays a critical role in any eCommerce business. For Shopify store owners, having an efficient shipping setup directly impacts both customer experience and business success. Poor shipping configurations can result in overcharged shipping fees, slow deliveries, or worse, frustrated customers abandoning their carts. In this guide, we’ll walk through how Shopify store owners can simplify their shipping configuration and improve operational efficiency.
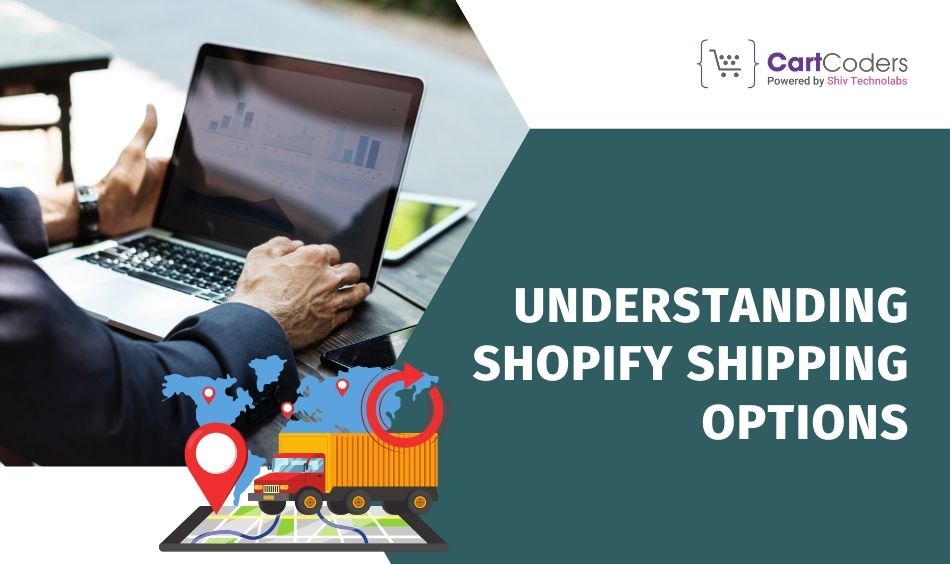
1. Understanding Shopify Shipping Options
Shopify provides multiple shipping methods to suit different types of businesses. Choosing the right one is crucial for balancing costs and meeting customer expectations. Here’s a breakdown of the options available:
Free Shipping: Offering free shipping is a proven way to increase customer satisfaction. However, it’s important to carefully analyze whether your business can absorb the shipping cost or if it’s better to set a minimum order value to qualify for free shipping.
Flat Rate Shipping: Flat rate shipping charges a single fee regardless of order size or weight. This method works well for stores that sell products with similar sizes and weights. Customers appreciate the simplicity, but make sure the rate covers your costs without eating into profits.
Weight-Based Shipping: Weight-based shipping charges customers according to the total weight of their order. This option is ideal for stores with a variety of product sizes and weights. The downside is that calculating precise rates can be challenging if your products have inconsistent dimensions or weight.
Real-Time Carrier Rates: For stores that prefer transparency and accuracy, real-time carrier rates allow you to charge customers the exact amount it costs to ship their order. Shopify integrates with major shipping carriers like USPS, UPS, DHL, and FedEx. This is perfect for stores shipping internationally or across long distances, as rates are automatically calculated based on the carrier’s current prices.
Each shipping method has its advantages and potential drawbacks. The key is selecting the one that aligns best with your business model and target audience.
2. Setting Up Shipping Zones
Shipping zones let you customize where you ship to and the rates you charge for each area. In Shopify, you can group regions or countries into zones and assign specific shipping rates to them.
To set up shipping zones:
- Go to your Shopify admin dashboard.
- Navigate to Settings > Shipping and Delivery.
- Under Shipping, click Manage rates next to the shipping profile.
- Click Create Shipping Zone and select the countries or regions you want to include.
- Assign specific shipping methods to each zone, whether flat rate, free shipping, or real-time carrier rates.
Shipping zones give you control over your business’s global reach. For instance, you might offer free shipping to local customers while charging international customers a higher rate due to higher carrier costs.
3. Configuring Shipping Rates

Getting your shipping rates right is essential to avoid either overcharging your customers or bearing too much of the shipping costs yourself. Here’s a step-by-step guide to configuring shipping rates:
Navigate to Shipping Settings: Start by logging into your Shopify admin and heading to Settings > Shipping and Delivery.
Choose Your Shipping Profile: Select the shipping profile that applies to the products you want to set rates for.
Add Shipping Rates: Under the shipping zone, click Add Rate. From here, you can create flat rates, weight-based rates, or price-based rates.
Test Different Rate Structures: For example, you can offer free shipping on orders above $100, flat rates for specific regions, and real-time carrier-calculated rates for international orders.
Shipping rates should be regularly reviewed. As carrier costs change or your store’s needs evolve, you may want to adjust rates to remain competitive.
4. Utilizing Shopify Shipping Labels
Shipping labels streamline the fulfillment process by letting you purchase and print labels directly from your Shopify dashboard. This removes the hassle of dealing with third-party shipping platforms or going to the post office.
Here’s how to start with Shopify shipping labels:
Buy Shipping Labels Directly from Shopify: Once you receive an order, go to the Orders section in your Shopify admin. From there, click on the order and then click Create Shipping Label. Shopify will automatically calculate shipping rates for your selected carrier based on the weight and dimensions of the package.
Print Labels: After purchasing, you can print the shipping label directly from Shopify and attach it to your package.
Schedule Pickups: For added convenience, many carriers allow you to schedule pickups directly through Shopify or via the carrier’s website, reducing trips to the post office.
By using Shopify shipping labels, store owners can save time on fulfillment and reduce errors in shipping addresses or package details.
5. Leveraging Third-Party Shipping Apps
Sometimes the default shipping features on Shopify may not be enough for larger businesses or those with complex shipping needs. In these cases, integrating third-party shipping apps can simplify order management and improve shipping efficiency.
Popular third-party shipping apps include:
ShipStation: Known for its ease of use and ability to manage shipping from multiple carriers in one place. It integrates seamlessly with Shopify and helps with batch processing, creating labels, and tracking orders.
AfterShip: This app offers shipping tracking and delivery notifications, helping improve customer satisfaction by keeping buyers updated on their orders’ status.
Shippo: This is another user-friendly shipping app that integrates with Shopify and provides discounted shipping rates from carriers like USPS and DHL. It also allows you to print labels and manage international shipping.
Third-party apps often come with extra features that help manage large volumes of orders or add customization options that Shopify doesn’t offer natively.
6. Offering Free Shipping: A Strategic Approach
Free shipping is one of the most powerful tools to increase conversions. However, offering it without a plan can hurt your bottom line. Here are a few strategies for offering free shipping effectively:
Minimum Order Value: A popular tactic is to offer free shipping on orders above a certain threshold, such as $50 or $100. This not only covers your shipping costs but also encourages customers to spend more.
Limited-Time Offers: Offering free shipping during promotions or sales is a great way to entice customers to complete their purchases during peak shopping times.
Geographical Restrictions: You can offer free shipping only to certain regions or countries where your shipping costs are lower, balancing out the cost of offering this perk.
Analyzing customer behavior and tweaking your free shipping offer periodically will help you find the right balance between increasing conversions and maintaining profitability.
7. Managing Shipping During Peak Seasons
Peak seasons, such as holidays or sale periods, can present challenges for shipping logistics. Delays, mismanagement of inventory, and overwhelmed shipping carriers can disrupt your operations. Here are some tips for managing shipping during these busy times:
Set Realistic Delivery Expectations: During high-demand periods, make sure your customers know about potential delays. Update your shipping policy to reflect expected shipping times, and communicate this on your store’s checkout page.
Add Buffer to Your Shipping Time: If it usually takes 3 days to ship, consider setting your delivery estimate to 5-7 days during peak periods. This will help manage customer expectations and avoid disappointment.
Optimize Inventory: Before peak seasons begin, ensure you have enough inventory to meet demand. Stock up on packaging materials, and establish backup carrier options in case your primary carriers experience delays.
Planning for peak season logistics will reduce stress and improve customer satisfaction during crucial sales periods.
8. Handling Returns and Refunds Efficiently
Even with a well-structured shipping setup, returns are inevitable. Handling returns effectively can help maintain customer trust and loyalty. Shopify makes this process easier by offering automated returns management tools.
Create a Clear Returns Policy: Make sure your returns policy is easy to find on your website. Outline the steps customers need to follow to return an item, as well as any time limits or conditions for the return.
Enable Automated Returns: Apps like Returnly or AfterShip Returns Center integrate with Shopify to streamline the return process. Customers can initiate returns directly from your website, and you can automate return label creation.
Minimize Return Costs: One option is to charge for return shipping unless the item is damaged or defective. Another strategy is to deduct a small restocking fee for returned items to cover your return shipping costs.
A smooth return process can turn a potentially negative experience into a positive one, leading to repeat business and positive reviews.
9. Tracking and Reporting on Shipping Performance
Tracking your shipping performance is critical for continuous improvement. Shopify provides built-in analytics that allows you to measure shipping metrics such as shipping costs, delivery times, and shipping errors.
Track Shipping Costs: Regularly review your shipping costs to ensure you’re not spending more than you should. Compare carrier costs, and adjust your shipping settings if necessary.
Monitor Delivery Times: Analyze how long it’s taking your packages to reach customers. Delays may signal a need to change your shipping carrier or update your delivery estimates.
Use Shopify Reports: Shopify’s reporting tools can help you monitor your shipping expenses and identify any bottlenecks in your shipping process. These insights can help refine your shipping strategy over time.
10. Common Shopify Shipping Mistakes to Avoid
Even with the best intentions, it’s easy to make mistakes when configuring shipping settings. Here are some common pitfalls and how to avoid them:
Overcharging for Shipping: This is a common reason for abandoned carts. Make sure your shipping rates are fair and transparent to avoid losing potential customers at checkout.
Ignoring International Shipping: Expanding your shipping reach can unlock new revenue streams. Set up international shipping zones with accurate rates to avoid surprise costs.
Failing to Review Shipping Settings Regularly: Your business will evolve, and so should your shipping setup. Periodically revisit your shipping zones, rates, and methods to ensure they align with your current business needs.
Conclusion
Setting up and managing Shopify shipping doesn’t have to be complicated. By following the tips outlined in this guide, you can simplify the process, avoid common mistakes, and improve customer satisfaction. Revisit your shipping setup regularly and adjust it based on feedback and performance. With the right approach, your store will be better equipped to handle shipping effectively and keep customers coming back for more.
For Shopify store owners looking to simplify their shipping process and boost efficiency, partnering with experts is crucial. At CartCoders, we specialize in helping businesses configure and optimize their Shopify shipping settings for seamless order fulfillment and customer satisfaction. Get in touch with us today to streamline your Shopify shipping and elevate your store’s performance.


