Summary: Thanks to Shopify Hydrogen's Demo Store template, building a custom storefront is no longer difficult. Let us explore how you can play with your store's UI/UX and offer a custom solution to your users with the Hydrogen framework.
Personalized experience helps improve revenue, retain clients, and boost average order value. Shopify Hydrogen makes it easier for developers to build and host customized storefronts.
The React-based framework of Hydrogen helps businesses create storefronts with personalized, dynamic content to engage users effectively. You can design blocks using this framework that provide suggestions based on geographic location, customer feedback, and previous purchases.
Build Custom Shopify Hydrogen Storefronts
Tailor your store's design and features using modern tools built for speed and flexibility.


The Tailwind CSS and Shopify Hydrogen framework allow you to style each element of your custom store. This React-based framework helps businesses create Shopify headless commerce stores with a unique and personalized interface.
What is the Hydrogen Framework
Shopify Hydrogen is a React-based framework that allows developers to create custom products on Shopify. It has all the resources and elements that Shopify Hydrogen programmers need to get started and build storefronts with individualized user experiences.
The main objective of Shopify Hydrogen is to give you more freedom when personalizing your storefront without requiring external application integration or being constrained by the storefront end.
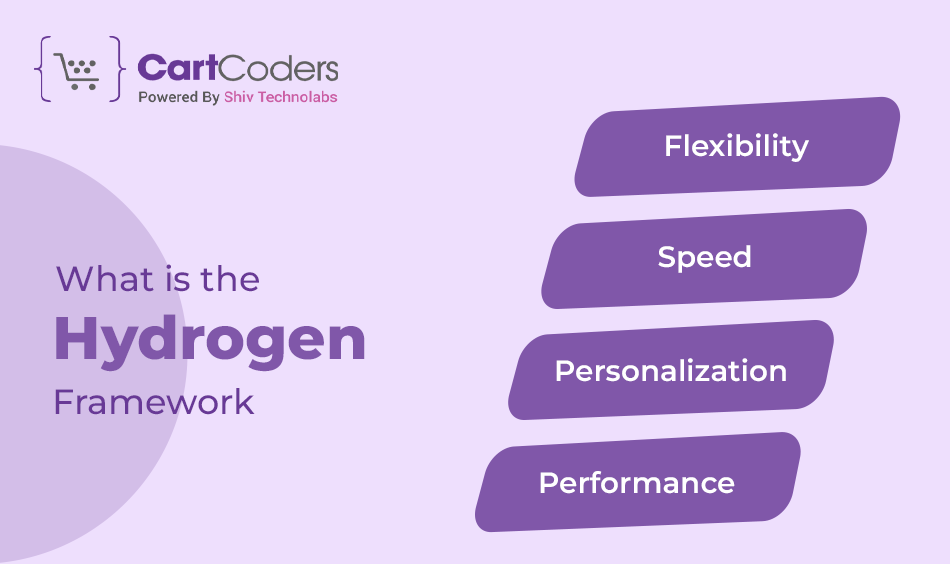
Benefits of using Hydrogen for custom storefronts
Shopify Hydrogen experts ensure best-in-class merchant capabilities and a custom user experience. So why should you opt for Hydrogen?
Flexibility
Shopify hydrogen experts can separate their website portions into the “head” components that will be visible to their users and the rest of the functions using the Hydrogen framework. Similar to the headless framework, with Hydrogen, developers have more freedom to play with layout and content changes.
In a single environment, developers can build new front-ends, share them with other team members, and deploy them live. The front-end and back-end are also connected by hooks and APIs, which ensure that every element of your store functions effectively.
Speed
Hydrogen comes with a basic, easy-to-use, uncomplicated template based on the Tailwind CSS library and the Hydrogen framework. It offers seamless integration with your Shopify stores to ensure a good user experience and unlimited styling options.
Personalization
You can utilize content blocks based on your user interaction to provide personalized product suggestions to your users. You can benefit from Shopify Hydrogen’s core technology stack to customize the UI/UX experience and offer dynamic content display to your users.
Performance
Hydrogen utilizes low-level JavaScript integrated with client-side and server-side components. It reduces the bandwidth required to load a website, improving performance and user experience. Server-side rendering, built-in caching controls, and React Server components will help you eliminate bulkier storefront components and minimize the chances of slow-loading sites.
Setting Up Your Development Environment
Shopify Hydrogen has ready-to-use parts, utilities, and hooks that streamline development. Hydrogen leverages Shopify’s commerce capabilities and foundational tech stack to provide limitless design options and ready-to-use UI components. Also, setting up the development environment becomes easier as Shopify minimizes the complexity of third-party software and integrations.
Now that you know how Shopify Hydrogen development services can benefit you, let’s move on to the development process:
Create a Shopify Storefront That Stands Out
We help brands build fast, clean storefronts using Hydrogen and Tailwind CSS.
Step-by-step guide to setting up the environment and Your First Hydrogen Storefront
You first need to install the following dependencies
- Npm or yarn version 1. x
- Node.js version 16.14.0
It would help if you also familiarize yourself with Vite, React, and Tailwind CSS.
- Use yarn, npm, npx, or ppm to create a Shopify Hydrogen storefront locally
- If you want to integrate your store with an existing React framework, you can add the @shopify/storefront-kit-react package.
- Run the development server
- Explore your Shopify project structure
- Make a text change
- Install Tailwind to style some elements
- Save the file to view your updated changes in real-time
Initializing a New Hydrogen Project
The most recent way to initialize a Hydrogen storefront is by using npx create-hydrogen@latest. This command ensures you get the latest version of Hydrogen with all the updated tooling.
Here is a step-by-step guide to initialize a new Hydrogen project:
Building a New Shopify Hydrogen Storefront
You can use npm, yarn, or ppm to create a local Shopify Hydrogen storefront.
- Change to your desired directory to create your Shopify project
- Execute the setup command and select the Hello World template
- Choose JavaScript as your programming language
- Give a name to your new Shopify storefront
- Change to the directory
Running the development server
It would be best if you started the development server to view your Hydrogen storefront effectively:
- Start the development server, and then go to http://localhost:3000/ to access your MiniOxygen development server seamlessly
- You can also use the port itemized in the console output
- The Hello World index page will then appear
For production, Hydrogen storefronts can be hosted on Shopify’s Oxygen platform, which is tightly integrated and supports native deployment pipelines.
Understanding the project structure
The Hello World Template can be used to seamlessly build a Hydrogen storefront. It acts as a foundation and comes with a boilerplate and a few dependencies. Open your project and go to the directory to access the code editor. The Hello World template will then deliver its structure.
Create a Route
Now, you need to create your first route by performing the following tasks:
- Export your index component
- Create the app/routes/_index.jsx file and then return a message
- Now save the file to view real-time updates on your home page easily
Add a CSS framework
In this phase, install Tailwind and style certain items in your storefront. The CSS framework consists of classes and provides Shopify Hydrogen developers with various utilities for colour, responsive Layout, and spacing.
- Press Ctrl-C to stop your development server
- Install PostCSS and Tailwind
- Create the postcss.config.js and tailwind.config.js files by running the init command.
- Add paths to your template files in the tailwind.config.js file
- Now add your @tailwind directives for each layer of the Tailwind to the app/styles/tailwind file
- You need to update all the script properties found in your package.json file to develop your production and development Tailwind CSS.
P.S. – Tailwind CSS does not come pre-installed in the Hydrogen starter templates. You’ll need to install it manually using PostCSS and configure it through Tailwind and PostCSS config files.
Building and Styling Your Storefront
- Export any Layout component using Tailwind styles from an app/component/Layout.jsx file
- Eliminate the placeholder “Hello, Hydrogen” message from your app/root.jsx file.
- Import the new Layout component
- Wrap the Outlet in your Layout after importing your Tailwind build
- Remove all the placeholder styles from your app/styles/app.css files
- Restart the server
- Now, your storefront will have the new Shopify layout with your Tailwind design.
Setting up Shopify API keys
Setting up Shopify API keys can be best done by opting for professional Shopify Hydrogen development services.
Here is a step-by-step breakdown of the setup process:
Fetching data from Shopify
- Create a components folder, and within that, create a FeaturedProducts.server—jsx file.
- Import the gql and useQuery from @shopify/Hydrogen.
- When using the Storefront API, aim to structure your queries efficiently to limit the size of the response. This helps improve data transfer speeds and keeps app performance high.
- Pass the QUERY constant into your useShopQuery file to fetch data and products.
Displaying products and collections
- Update the return() function to display the fetched products in the FeaturedProducts.server.jsx file
- Import and then render your FeaturedProducts.server.jsx component in your src/routes/index.server.jsx file
- Create a single product display Shopify page and a ProductDetails.client.jsx file
- Update your ProductDetails.client.jsx file to seamlessly display your product images
- Render the ProductGallery inside your ProductDetails components to display multiple product image variants.
- Now, to handle your users’ product selection, create a form that allows them to add products and buy them securely.
Tips for Designing a User-Friendly Interface
- All products and collections in your Shopify Hydrogen storefront must have clear categories and easy navigation to ensure users can easily access everything.
- Add high-quality product images with consistent branding to hook users to your store’s interface.
- Add a functional search bar to help users look up products they need quickly without scrolling for hours.
- You must provide filtering and sorting options to help your users sort products based on price, age, trends, best sellers, etc.
Understanding User Experience Principles
- Your UI/UX design should prioritize intuitive design and ease of use to ensure that users can interact effortlessly with your site.
- Voice search and other features should be added to make your site accessible to people with disabilities.
- Ensure your store runs smoothly across different operating systems and devices to access a wide base of audiences.
- Consider accessibility features like keyboard-friendly navigation, semantic HTML, and ARIA labels to support users who rely on assistive technologies.
Techniques to reduce load times
Websites with fast loading speeds and quicker server response times offer a more engaging and smoother user experience. This not only improves user satisfaction but also positively contributes to SEO. Search engines favour storefronts that are mobile-optimized and load quickly.
Follow these tips to reduce your site’s load times:
- Use image optimization tools to reduce the product image size and format
- Optimize dependencies such as plugins, CMS software, tracking scripts, etc
- Optimize caching by using the Cache-Control header for dynamic comments and Expires headers for your static ones
- Refrain from render-blocking scripts and redirects
- Reduce your HTTP requests using CSS Sprites
- Minimize Cookie size
🛒 Need Help with Your Shopify Hydrogen Storefront?
Building a custom storefront with Shopify Hydrogen requires thoughtful planning, a strong grasp of frontend development, and attention to performance. At CartCoders, we work closely with founders, product teams, and eCommerce businesses to build storefronts that load quickly, look sharp, and reflect your brand.
Whether you’re starting from scratch or moving away from a traditional theme setup, our developers can help you create a headless Shopify storefront that fits your exact needs, built with Tailwind CSS and powered by Hydrogen.
📞 Ready to build your store the right way?
→ Talk to our Shopify Hydrogen experts now
Conclusion
Shopify Hydrogen opens new possibilities for building fast, flexible, and design-driven storefronts.
If you’re thinking about moving your Shopify store in a new direction, now is a great time to do it, especially with tools like Hydrogen ready to support that change from day one.
CartCoders helps businesses bring these storefronts to life through reliable Shopify development services, tailored to work with Hydrogen and headless commerce setups.


