Are you searching for how to integrate Shopify with WordPress? This post will demonstrate the quickest step-by-step procedure that will enable you to integrate your Shopify store with your WordPress site in 5 minutes.
The first time you see this, it may seem impossible to connect Shopify and WordPress. You will be surprised that it is very possible and beyond your imaginations.
Upon reading this POST, you will have enough knowledge on what Shopify WordPress integration entails. Furthermore, it provides insights as to why one should consider integrating these two platforms and how you can open a Shopify store fast. Therefore, continue reading until the end.
Benefits of Shopify WordPress Integration
The world’s leading eCommerce builder in the world is Shopify. The most popular website management system in the world is WordPress, which powers almost 50% of the world’s websites. Combining these two great platforms will be very helpful for you to succeed in your e-commerce efforts.
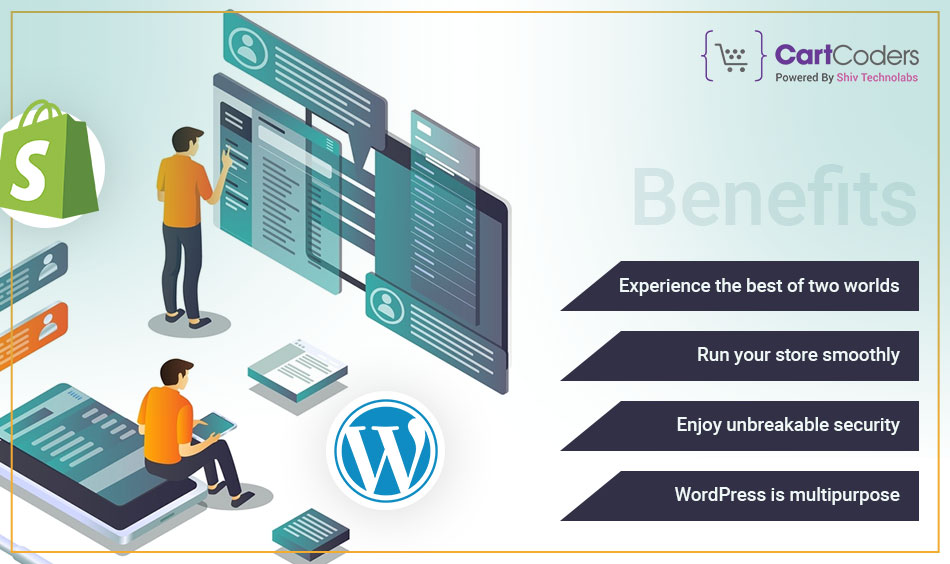
Here are some of the top benefits of integrating Shopify with WordPress:
- Experience the best of two worlds:- Shopify and WordPress integration will let you have the best of both platforms. Adding value to your online store is possible if you already have a Shopify-based online store and a website that’s made using WordPress, doing this will help your store by adding value to it in that you can kill two birds with one stone by promoting your products.
- Run your store smoothly:- Creating and running an online store on Shopify is very simple and effective. This kind of integration will help you if you want to have an online store in addition to your WordPress site.
- Enjoy unbreakable security:- It is protected against any online threats or frauds; this platform offers Level 1 PCI compliance and 256-bit SSL certificate encryption (Shopify). Thus, no need to worry about safety measures anymore.
- WordPress is multipurpose:- WordPress is special because it can be applied for various purposes. That makes such a combination of Shopify and WP good for building versatile websites too.
Without integration, you can still build an online store on WordPress by just installing a plugin such as – WooCommerce, and Dokan (to open a multivendor marketplace). However, people prefer Shopify because it is user-friendly with great dedicated eCommerce features.
WordPress Shopify Integration Requirements
To integrate Shopify with WordPress you must have a Shopify store and a WordPress site and some time.
Since we are discussing integration, we assume that you have all the requirements – notably; a WordPress site and a Shopify store. If not don’t worry about it. We’re here to assist.
In the past, what was possible was that you could install a Shopify plugin into your WordPress website to enable the two work together, but not anymore.
First, develop your shopify store before integrating it with WordPress. So let’s get started.
How To Set Up Shopify WordPress Integration
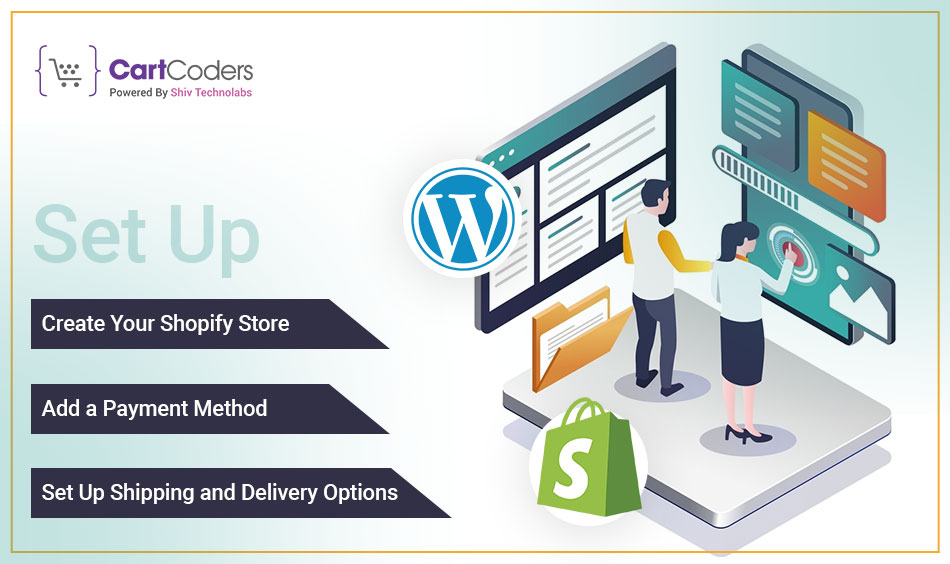
A few clicks and your Shopify store is up and running. To complete the basic setup of your Shopify store, you will primarily need to follow three steps. They include:
- Create Your Shopify Store
- Add a Payment Method
- Set Up Shipping and Delivery Options
Now we are going to break down the steps in some specifics using bullet points that contain visual aids where necessary.
Note: This section can be skipped if you’re already familiar with this process or already have a Shopify store. If not, let’s get started immediately.
Step 1: Create Your Shopify Store
To begin with, as a person who has never used Shopify, you will have to use the free trial for 14 days. If you love it while on trial you can purchase any plan anytime depending on what you want.
However, by default, you will need to start a trial period to get into Shopify. You need to first of all click on the “Start free trial” button from the homepage of Shopify.
On hitting Create Your Store button, Shopify will ask you some other forms about yourself and your shop. Please provide this information or skip it if don’t want it then click “Next“.
Step 2: Add A Payment Method
After making your first Shopify store, do some basic set up to enable it to start being an eCommerce site. One thing you need to do is add a payment method.
To achieve this, just follow the following steps:
- You will see a settings panel when you click on “Settings” from your store home.
- Payments: This is where you make all the changes concerning payments (a select provider button)
- Or scroll down for more options to customize through selecting preferred payment methods or activating PayPal and adding manual payment.
Step 3: Configure Shipping And Delivery Options
Your shipping and delivery location by default is actually the address that you provided during the store setup process.
To change them, just visit shipping and delivery in your store setting menu. Later, decide on the precise place of your choice.
Here, however, you can also change other shipping procedures such as setting the shipping charges or addition of third-party transportation companies.
Finally! Just like that, your Shopify store is already created with the most important settings done as well. It’s high time we moved on to its integration with the WordPress site as well.
How To Connect/Integrate Shopify WordPress In 4 Easy Steps
You can do that by adding a “Buy Button” under the “Sales channels” on Shopify. If you have identified a product you desire to sell, the only thing you need is a “Buy Button” code which you will copy then paste to your WordPress site.
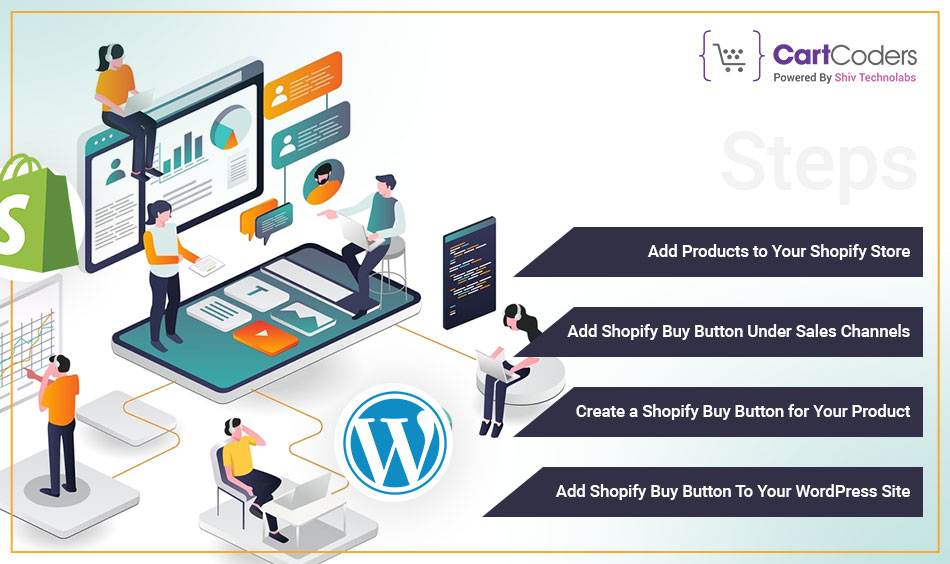
We are going to show you the entire process in 4 simple steps. The following steps will be shown regarding how to integrate Shopify with WordPress:
- Add Products to Your Shopify Store
- Add Shopify Buy Button Under Sales Channels
- Create a Shopify Buy Button for Your Product
- Add Shopify Buy Button To Your WordPress Site
Now, we will demonstrate the steps by breaking them down one by one. We have added the necessary visuals to help you understand quickly.
Step 1: Add Products To Your Shopify Store
Shopify’s “Buy Button” works on products or a specific page. If you have not uploaded any products yet on your Shopify store, then your “Buy Button” will not work.
If you already have uploaded product(s) into your shop, then proceed to Step 2 of the integration process.
To add products to your Shopify store, first, you need to press the “Add product” button from your Products or Home page.
After that, a product upload page will be opened. There is where you now fill in all the information needed for uploading a product.
After adding the product to your store, now you can start a Shopify WordPress integration by creating a “Buy Button” and adding it to your WordPress site.
Step 2: Add Shopify Buy Button
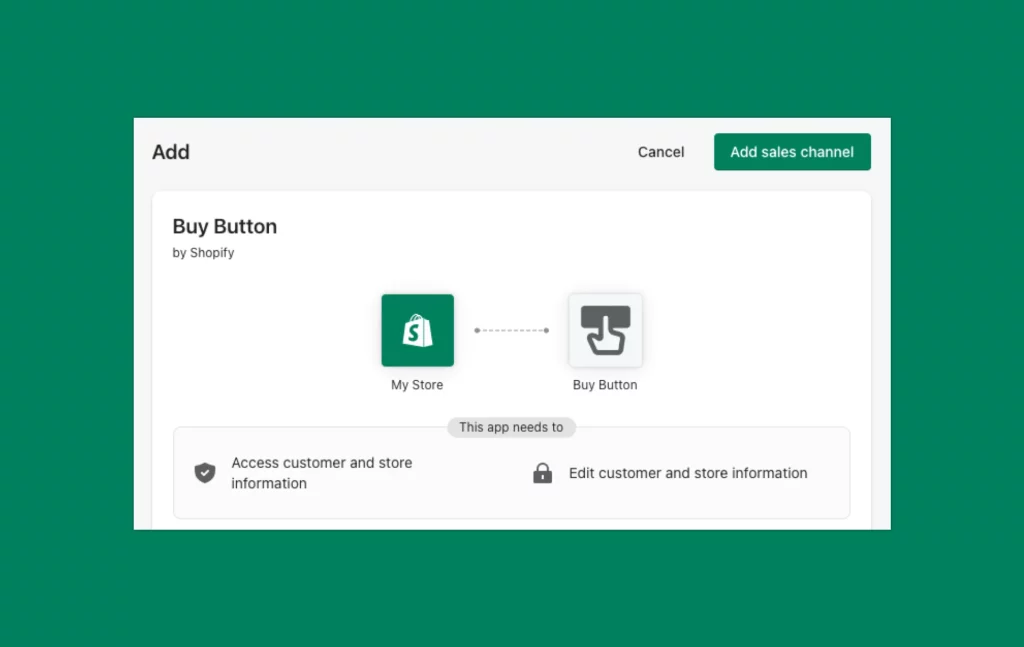
Under Sales Channels, Before you can create a “Buy Button”, you first need to activate it by adding to the “Sales Channels” section. Follow these steps:
- Click the “+” icon next to the “Sales channels”
- Find out the “Buy Button” from the popup menu and press its “+” icon
With just two clicks, your “Buy Button” will be activated and added to the “Sales channels” section.
Step 3: Create A Shopify Buy Button For Your Product
Once you have added the “Buy Button”, you will have to create this Button for some specific products or a page. It’s much easier than it sounds.
First of all, you need to click on a button named Create a Buy Button under the Buy Button menu. After that, choose your product or page, customize the button if required, and then click next.
This code which is about Shopify WordPress integration is what you just copied. Thus make sure that it was not copied wrongly during your last step.
Step 4: Add Shopify Buy Button To Your WordPress Site
Finally, you can go to any page or post on your WordPress site to finalize the integration by adding the pasted code. This will be good as long as you stick to these steps:
- Search for WordPress Code Editor and open a Page or Post
- Inside your page or post, put the<p> paragraph tag
- Paste the previously copied Buy Button code inside this paragraph tag
At this stage just save or update your page as usual and then preview it since that will show how your Shopify store product will look like on your WordPress site.
That is all! You have completed the WordPress Shopify integration process.
But remember this “Buy Button” provides only some basic features of online selling, so you may not have some essential tools necessary for making your store competitive in a long-term perspective.
Yet still, it’s worth having such an option of integration if you already have a Shopify-powered e-store well installed.
Conclusion
Hopefully, this blog has helped you know how to properly integrate Shopify with WordPress. Hence, it’s time for you to do the integration yourself.
However, if you have an already built online store with Shopify or your objectives are in line with the benefits of integration, we suggest that you do the integration. Alternatively, build a complete eCommerce site either on Shopify or WordPress.
Frequently Asked Questions (Faqs)
Yes, you can connect Shopify with WordPress by using the Buy Button feature or third-party plugins to sell products easily.
To connect your Shopify domain to WordPress, update DNS settings or forward the domain from Shopify to your WordPress website address.
You can’t import WordPress directly into Shopify, but you can manually move blog posts and link both sites for better reach.
Yes, you can connect your current website with Shopify using embed codes, Buy Buttons, or by linking pages across both platforms.
Yes, you can use Shopify with your existing website by adding its products and checkout system without changing your current setup.
CartCoders helps connect Shopify with WordPress easily, with clean setup, clear instructions, and expert support tailored to your business model.


