Custom Engagement Solutions
Unlock tailored solutions with a free, no-obligation strategy session.
Expert Developers & Engineers on Demand
Scale Your Team with Skilled IT Professionals
Expert Guidance for Digital Transformation
Custom Engagement Solutions
Unlock tailored solutions with a free, no-obligation strategy session.
Expert Developers & Engineers on Demand
Scale Your Team with Skilled IT Professionals
Expert Guidance for Digital Transformation
Custom Engagement Solutions
Unlock tailored solutions with a free, no-obligation strategy session.
Expert Developers & Engineers on Demand
Scale Your Team with Skilled IT Professionals
Expert Guidance for Digital Transformation
Data-Driven
Success Stories
See What We Built and How it Worked!
Latest Blogs & Insights
Shopify insights that keep you ahead.
Latest News & Announcements
Milestones that push our progress to new heights
Proud to Be Recognized as a Top eCommerce Workplace
Where Global Talent Meets Shopify Brilliance
 INDIA
INDIA
 contact@cartcoders.com
7th Floor, PV Enclave, Opp. Courtyard by Marriott, Off Sindhu Bhavan Road, Bodakdev, Ahmedabad, Gujarat 380054
 USA
contact@cartcoders.com
USA
contact@cartcoders.com
5119 E Coolbrook Ave, Scottsdale, AZ 85254
 CANADA
contact@cartcoders.com
CANADA
contact@cartcoders.com
3120, Kirwin avenue Mississauga L5A3R2
 AUSTRALIA
contact@cartcoders.com
AUSTRALIA
contact@cartcoders.com
2/23 Foster Street, Surry Hills, NSW 2010 Australia.
Get in Touch with Cartcoders
We’re Here to Help You Achieve Your Goals
Global Offices & Dev Hubs
INDIA
contact@cartcoders.com
7th Floor, PV Enclave, Opp. Courtyard by Marriott, Off Sindhu Bhavan Road, Bodakdev, Ahmedabad, Gujarat 380054
USA
contact@cartcoders.com
5119 E Coolbrook Ave, Scottsdale, AZ 85254
CANADA
contact@cartcoders.com
3120, Kirwin avenue, Mississauga L5A3R2
AUSTRALIA
contact@cartcoders.com
2/23 Foster Street, Surry Hills, NSW 2010 Australia.
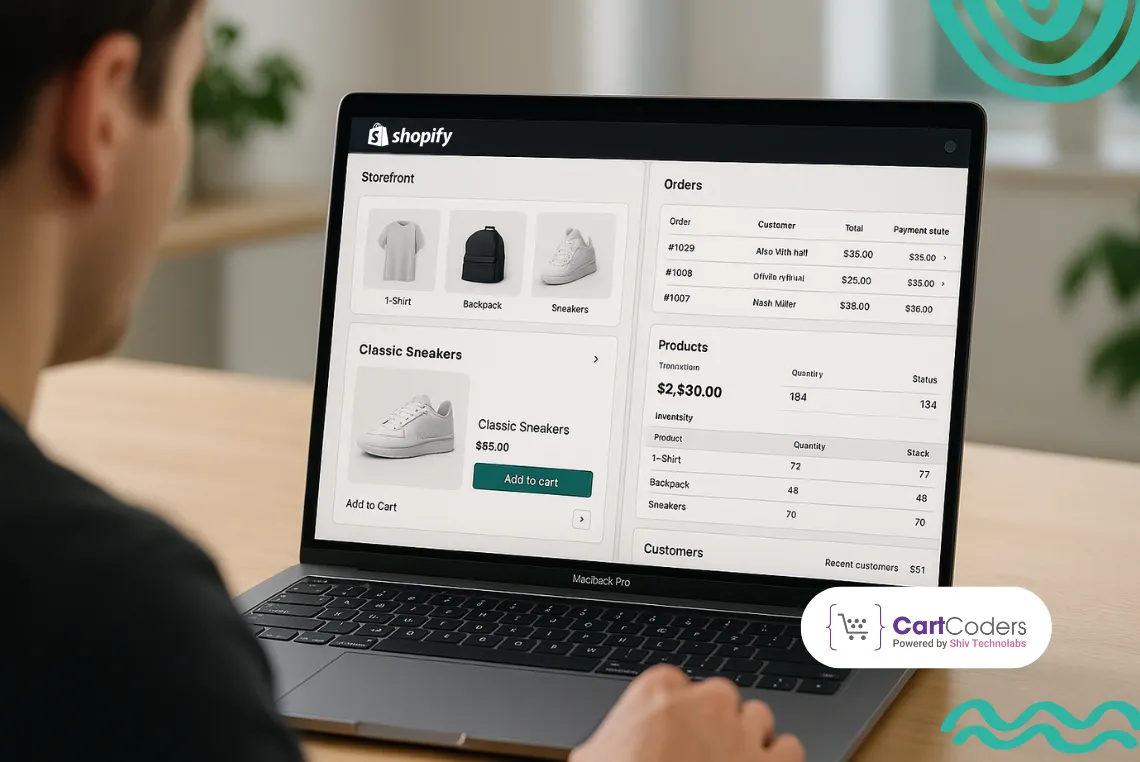
Migrating from an online store to another platform can feel tedious, especially when you want every detail to carry over without problems. Data, design, and customer information all need careful handling during the switch.
For business owners choosing Shopify, a clear plan is the difference between a hassle-filled transition and a smooth one.
This Shopify migration checklist brings together the key steps you should follow before, during, and after the migration. From preparing backups to setting up redirects, it covers the essentials so your store can keep running without major interruptions.
Whether you’re moving from WooCommerce, Magento, or another platform, these steps will help you build a steady path to Shopify.
Before moving your store, preparation is key. A few hours spent in planning can save weeks of trouble later.
Think of this stage as creating a snapshot of your current store and laying the foundation for the new one.
Here are the main steps to cover before migration:
With this groundwork in place, you’ll have a clear reference point when setting up your Shopify store. It helps you avoid missing data, broken links, or SEO drops once the new site is live.
Migrating to Shopify is not a single step but a series of tasks that need to be completed in order.
A Shopify migration checklist helps you avoid missing details that could affect store performance, data accuracy, or search rankings.
Below is a detailed breakdown of what should be done before, during, and after the move.
This stage ensures that every piece of important information from your current store is ready for transfer.
Once the data is organized, start building your new Shopify store.
Preserving SEO is one of the most important parts of migration. Even a small mistake can cause ranking drops.
Before launching, test every major function of the store.
The final stage prepares your store to go live and monitors it afterward.
✅ With this checklist, the migration process becomes structured and less risky.
Following these steps ensures that data is accurate, the design is consistent, and SEO strength is carried over into the new Shopify store.
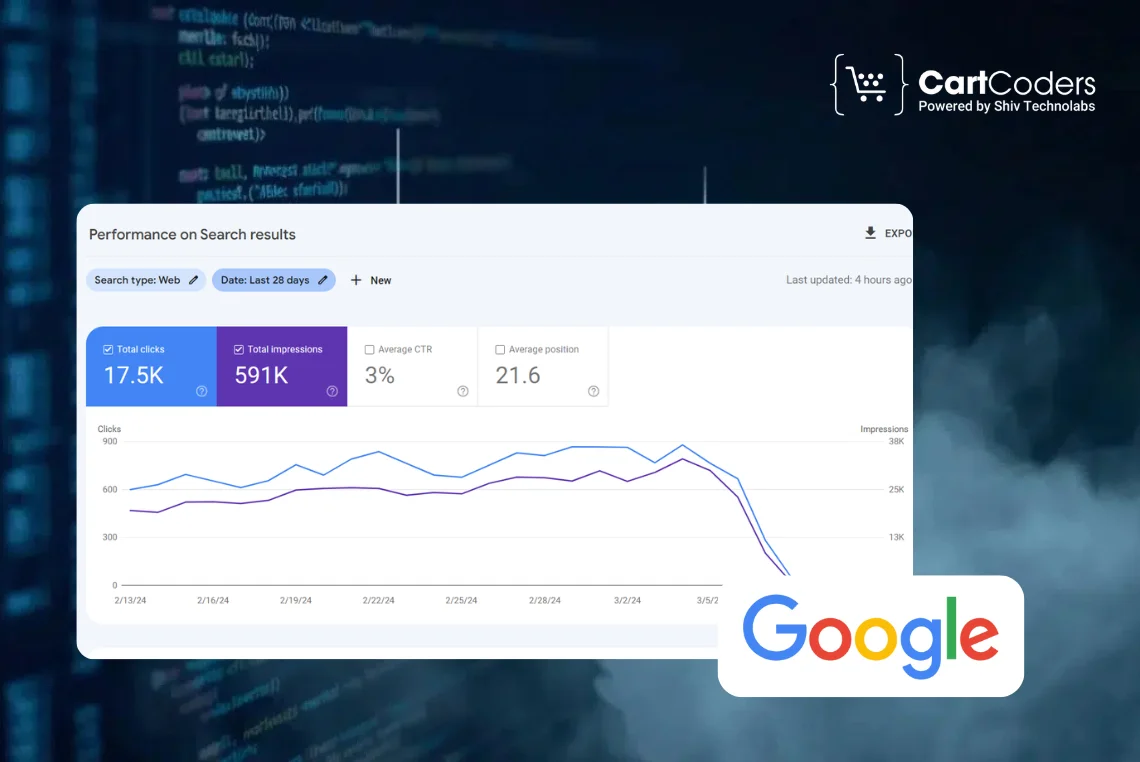
SEO is one of the most sensitive parts of migration. If handled poorly, you risk broken links, traffic loss, and a drop in search rankings. A clear approach will help you maintain visibility while moving to Shopify.
Start by creating a spreadsheet of your current URLs. Match each one with its new Shopify equivalent. Add 301 redirects in Shopify so visitors and search engines land on the right pages instead of 404 errors.
Carry over your existing meta titles, descriptions, and image alt tags. These details influence click-through rates and search relevance. Also, make sure your Shopify theme keeps canonical tags and structured data in place.
Once your store setup is ready, generate an XML sitemap from Shopify. Submit it in Google Search Console so search engines can index the new structure faster.
Check your robots.txt file. Important product and collection pages should be crawlable, while admin or checkout pages should remain blocked.
Before launch, run a crawl with a tool like Screaming Frog or Ahrefs. Confirm that all redirects work properly and there are no redirect loops. After launch, keep an eye on Google Search Console to quickly fix any errors or drops.
Check Out Our Shopify SEO Services!
Once the data is migrated and SEO is set up, the next step is testing. This stage is about making sure your Shopify store functions the way customers expect. Every feature should be reviewed carefully before launch to avoid errors after going live.
Place a few test orders to check if the cart, checkout process, payment gateways, and shipping rules work correctly. Try different payment methods and shipping options to confirm they calculate properly.
Log in as a customer and confirm that accounts display the right information. If order histories were migrated, make sure they show up under each customer’s profile.
Browse through product and collection pages to look for missing images, broken descriptions, or incorrect prices. Pay close attention to product variants like size and color.
Imported reviews should display correctly on product pages. This is important for building trust with shoppers.
Most customers shop on mobile, so open your store on different devices to test responsiveness. Run a speed test using Google PageSpeed Insights to confirm your store loads quickly.
Migrating to Shopify involves much more than copying data. It’s about keeping your store’s performance, SEO value, and customer experience intact during the move.
At CartCoders, our Shopify experts handle the entire process, from data transfer and theme setup to SEO preservation and post-launch monitoring.
Whether you’re moving from WooCommerce, Magento, or any other platform, we build a migration plan that reduces downtime and ensures your store is ready to sell from day one.
With our support, you can focus on running your business while we take care of the technical details that make a smooth transition possible.
A Shopify migration may seem challenging, but with the right checklist and careful planning, it becomes far easier to manage.
Backing up your data, setting up redirects, preserving SEO, and running quality checks all help you avoid problems after launch.
The goal is not just to move your store but to make sure it continues performing without interruptions. By following these steps, you can confidently shift to Shopify and create a stronger base for growth.
And if you want a hassle-free migration handled by professionals, partnering with a trusted Shopify development company like CartCoders is the best way forward.

Projects delivered in 15+ industries.
95% retention rate, building lasting partnerships.


Serving clients across 25+ countries.
60+ pros | 10+ years of experience.


