Custom Engagement Solutions
Unlock tailored solutions with a free, no-obligation strategy session.
Expert Developers & Engineers on Demand
Scale Your Team with Skilled IT Professionals
Expert Guidance for Digital Transformation
Custom Engagement Solutions
Unlock tailored solutions with a free, no-obligation strategy session.
Expert Developers & Engineers on Demand
Scale Your Team with Skilled IT Professionals
Expert Guidance for Digital Transformation
Custom Engagement Solutions
Unlock tailored solutions with a free, no-obligation strategy session.
Expert Developers & Engineers on Demand
Scale Your Team with Skilled IT Professionals
Expert Guidance for Digital Transformation
Data-Driven
Success Stories
See What We Built and How it Worked!
Latest Blogs & Insights
Shopify insights that keep you ahead.
Latest News & Announcements
Milestones that push our progress to new heights
Proud to Be Recognized as a Top eCommerce Workplace
Where Global Talent Meets Shopify Brilliance
 INDIA
INDIA
 contact@cartcoders.com
7th Floor, PV Enclave, Opp. Courtyard by Marriott, Off Sindhu Bhavan Road, Bodakdev, Ahmedabad, Gujarat 380054
 USA
contact@cartcoders.com
USA
contact@cartcoders.com
5119 E Coolbrook Ave, Scottsdale, AZ 85254
 CANADA
contact@cartcoders.com
CANADA
contact@cartcoders.com
3120, Kirwin avenue Mississauga L5A3R2
 AUSTRALIA
contact@cartcoders.com
AUSTRALIA
contact@cartcoders.com
2/23 Foster Street, Surry Hills, NSW 2010 Australia.
Get in Touch with Cartcoders
We’re Here to Help You Achieve Your Goals
Global Offices & Dev Hubs
INDIA
contact@cartcoders.com
7th Floor, PV Enclave, Opp. Courtyard by Marriott, Off Sindhu Bhavan Road, Bodakdev, Ahmedabad, Gujarat 380054
USA
contact@cartcoders.com
5119 E Coolbrook Ave, Scottsdale, AZ 85254
CANADA
contact@cartcoders.com
3120, Kirwin avenue, Mississauga L5A3R2
AUSTRALIA
contact@cartcoders.com
2/23 Foster Street, Surry Hills, NSW 2010 Australia.
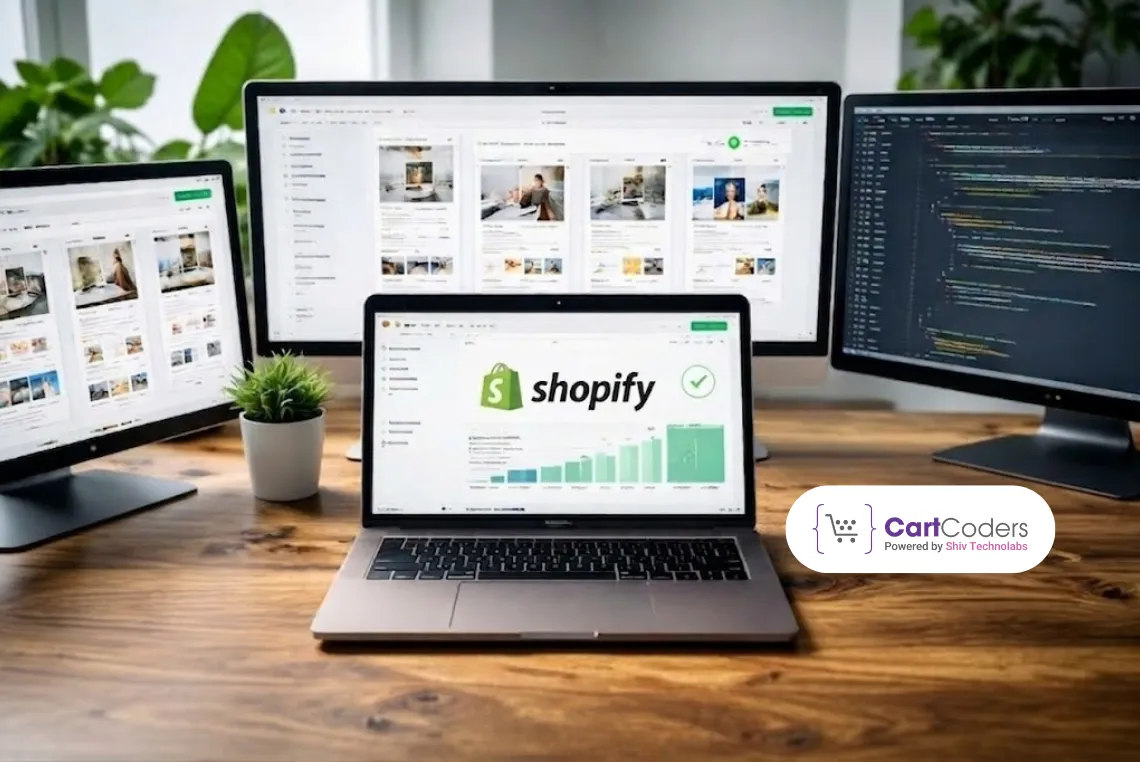
Shopify is a great option if you are thinking about starting an online shop. It is very flexible and with very little technical experience you can build even a fully working eCommerce website. This really well-designed guide takes you stepwise into the essentials of creating your high-performing Shopify website setup services store right from scratch. Let’s see how to start an online store with Shopify through the following steps.
To get things rolling, go ahead and register a new account on Shopify.
1. Explore the site of Shopify: enter www.shopify.com and click on ‘Start Free Trial’.
2. Create an Account: You’ll need an email address, a password, and the store name. After creating an account, answer a few basic questions about whether you have products ready or if it is the first time you are thinking of starting yourself.
3. Select Your Store Plan: Shopify offers different pricing plans based on your needs. Choose the one that best fits your budget and business scale. You can always upgrade later.
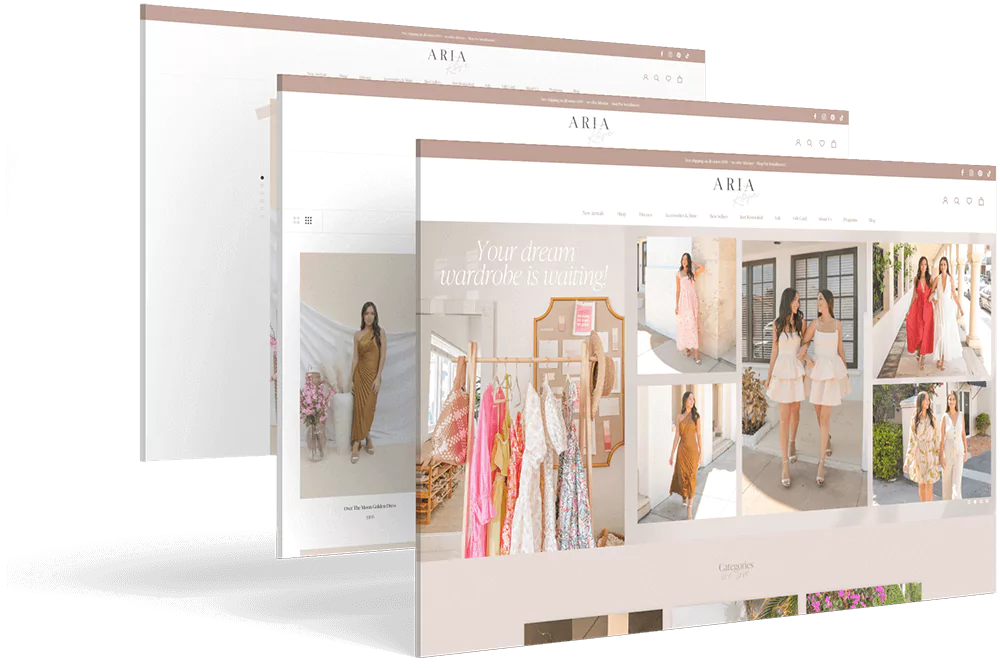
Shopify has many themes (both free and mercenary) which you could customize for an attractive online store.
1. Browse the Theme Store: Shopify has a theme store that allows browsing multiple styles. Check out its offerings by heading over to your Shopify dashboard, then Online Store > Themes.
2. Select the Theme: Choose a theme that resonates with the spirit of your brand and products. For example, if your business deals with clothes, it is probably better to choose a theme that has high-impact image capabilities.
3. Install the Theme: After deciding on what you want to do in terms of theme, just click it, and an “Add” button will pop up. It will automatically get added to your store, and you can start modifying that with ease.
It is time to personalize it. The theme editor will allow you to make changes which will let you play with colours, fonts, layouts, and many more, from the little features to the big ones.
1. The Theme Editor: To customize your theme, go to the “Online Store” > “Themes” in your Shopify admin and click on “Customize.” This will open the theme editor, and you can edit your theme configuration in a real-time fashion.
2. Adjust Your Homepage Layout: Go for home page customization first. You can add a slideshow, featured collection, product grid, or so on. The homepage is supposed to be where your greatest-selling items and any promotions in your running catch the eye.
3. It should define your brand: your logo, the colours, and the fonts all should reflect your brand identity. If you haven’t already, you can create logos that align with your brand using free or paid tools, then upload them directly into your Shopify store for a cohesive look.
4. Make sure your theme is mobile responsive: Most of the Shopify themes will match that mobile functionality, but it would be better to preview your store on a mobile device before confirming anything to ensure it looks beautiful.
It is time to start adding products to your online store.
1. Navigate to the Product Section: In your Shopify admin, click on “Products” > “Add Product” for that.
2. Add Product Info: You will need to input product-specific information for the product:
3. Group Products into Collections: You can organize similar products into collections with Shopify which will make it easier for customers to browse your store as “Men’s Shoes,” “Sale Items,” and so on.
4. Assign Product Variants: You may create product variants if your products are available in various colours and sizes. For instance, a T-shirt would be called a size S, M, or L when it’s available in just one shade for a specific product.
Set up payment gateways that customers can check out online from your store.
1. Navigate to Payment Settings: Go to “Settings”>”Payments” from the Shopify admin.
2. Select Payment Methods: Shopify supports a wide range of payment methods, including Shopify payments (which integrate directly into your store), PayPal, or third-party gateways such as Stripe or Authorize.net. Take those you want to use based on your target market and business preference.
3. How to Set Up Shopify Payments: You start accepting payments by credit card from your customers, if you already have Shopify Payments enabled, all you have to do is enable it and fill in the rest of the required information (like bank account information).
4. About Paypal: You just click on the Paypal option and enter your Paypal email to link your Paypal account to Shopify if you’d like to accept payments through Paypal.
Setup of Shipping and Taxes is essential for smooth task fulfilment and also for compliance with your local legislation.
1. Shipping Settings: Go to Settings > Shipping and Delivery To create areas for shipping (where you want to ship), create rates (flat or calculated), as well as methods (standard, express, etc.). Additionally, shipping service providers like USPS, UPS, and DHL are integrated for real-time shipping rates into the system.
2. Tax Settings: Go to “Settings” > “Taxes,” and enable the appropriate tax rules to allow Shopify to calculate taxes automatically for you according to your location and that of your customer.
A Shopify custom theme design services domain gives your shop a professional touch. Shopify lets you purchase a domain name or link an existing one.
1. Purchase a Domain from Shopify: To acquire a new domain, visit “Online Store” > “Domains” and click on “Buy New Domain.”
2. Connect an Existing Domain: For people with a domain, go to “Domains” > “Connect Existing Domain”, and follow the steps for directing your domain to Shopify.
Just after you have added products, set payment gateways, and customized your site fully, it’s time to open.
1. Preview Your Store: Before launching, browse your store to confirm it looks its best. Test other devices (desktop, tablet, and mobile) to confirm that all interfaces are seamless.
2. Activate Your Store: To officially open your store for business, remove its password protection. Head over to “Online Store” > “Preferences,” scroll down to find the “Password Protection” section and uncheck the box which indicates “Enable password.”
Life does not have to be complicated when fully setting up a functioning eCommerce site on Shopify. At Cartcoders, we specialize in helping you with the Shopify eCommerce store setup cost. If you’re looking to hire a Shopify developer for theme setup, our experienced team ensures a seamless integration and customization process. We provide clear Shopify theme customization pricing, so you can make informed decisions for your online store’s success.

Projects delivered in 15+ industries.
95% retention rate, building lasting partnerships.


Serving clients across 25+ countries.
60+ pros | 10+ years of experience.


